

Capturing a Selfie
Applies to: Direct
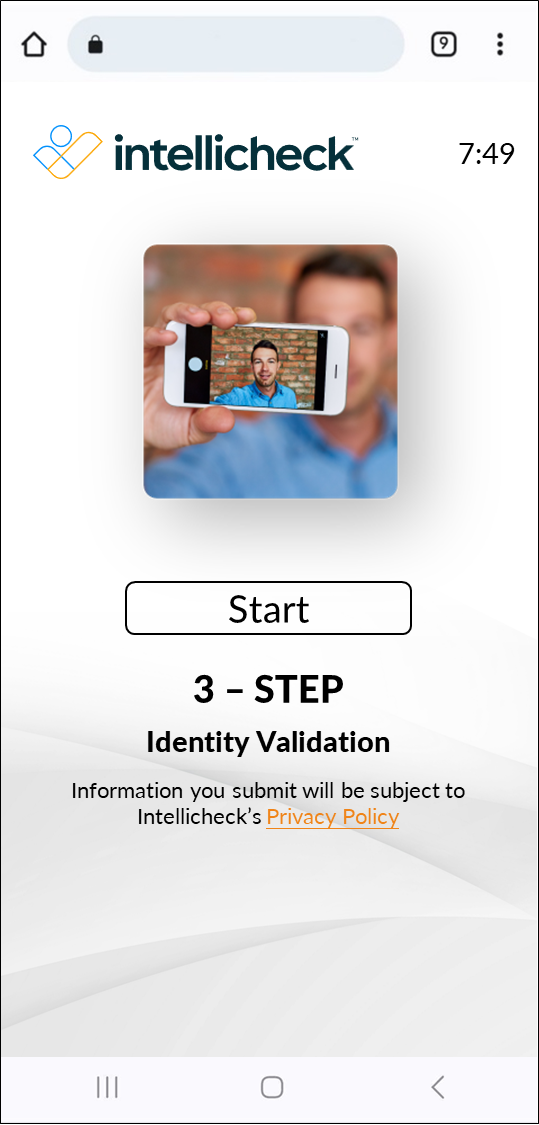
The 3-step identity validation is just like the 2-step identity validation but with the added step of capturing a selfie.
-
Step 1 is Capturing the Front of the ID.
-
Step 2 is Capturing the Back of the ID.
-
Step 3 is capturing a selfie, as described here.
Each verification step requires an Intellicheck service subscription:
Capturing the back of the ID for barcode authentication and scanning uses the Barcode subscription, which is enabled by default.
Capturing the front of the ID for OCR analysis against the barcode information requires a Doc Verify subscription.
Selfie checks require a Face Verify subscription.
If you need to enable any of these services, contact Intellicheck support.
Keep the following tips in mind before you begin.
🐼 Include a complete face in the selfie.
👓 Remove sunglasses, hats, or other articles that obstruct the face.
🔅 Find a well-lit area.
To capture a selfie, follows these steps:
- Select Continue on the Biometric Policy page.
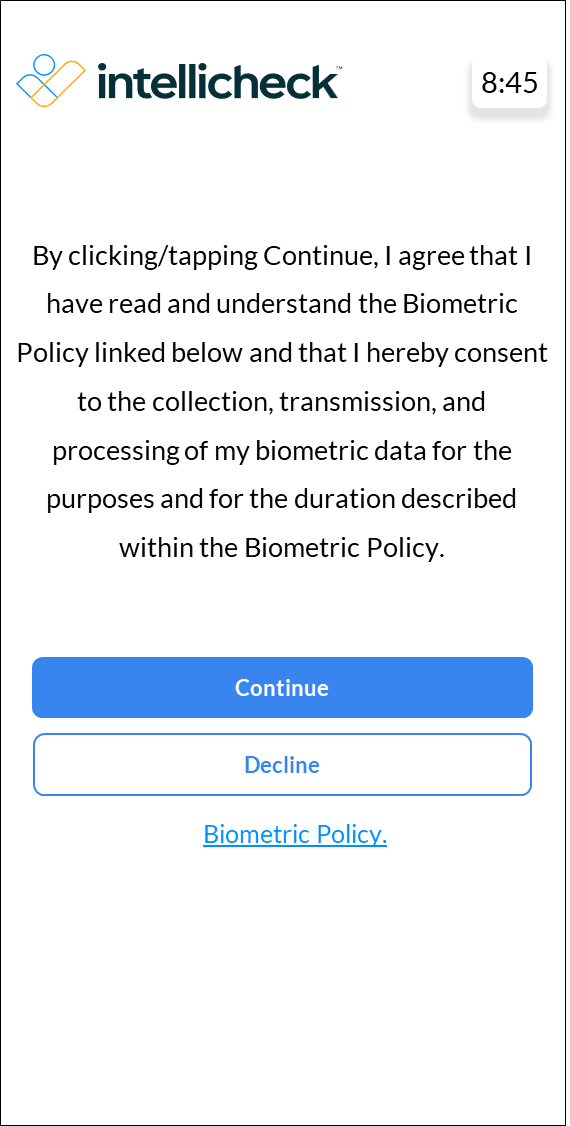
Read the Intellicheck biometric policy here.
-
A Loading page is displayed, and then the device camera is turned on.

-
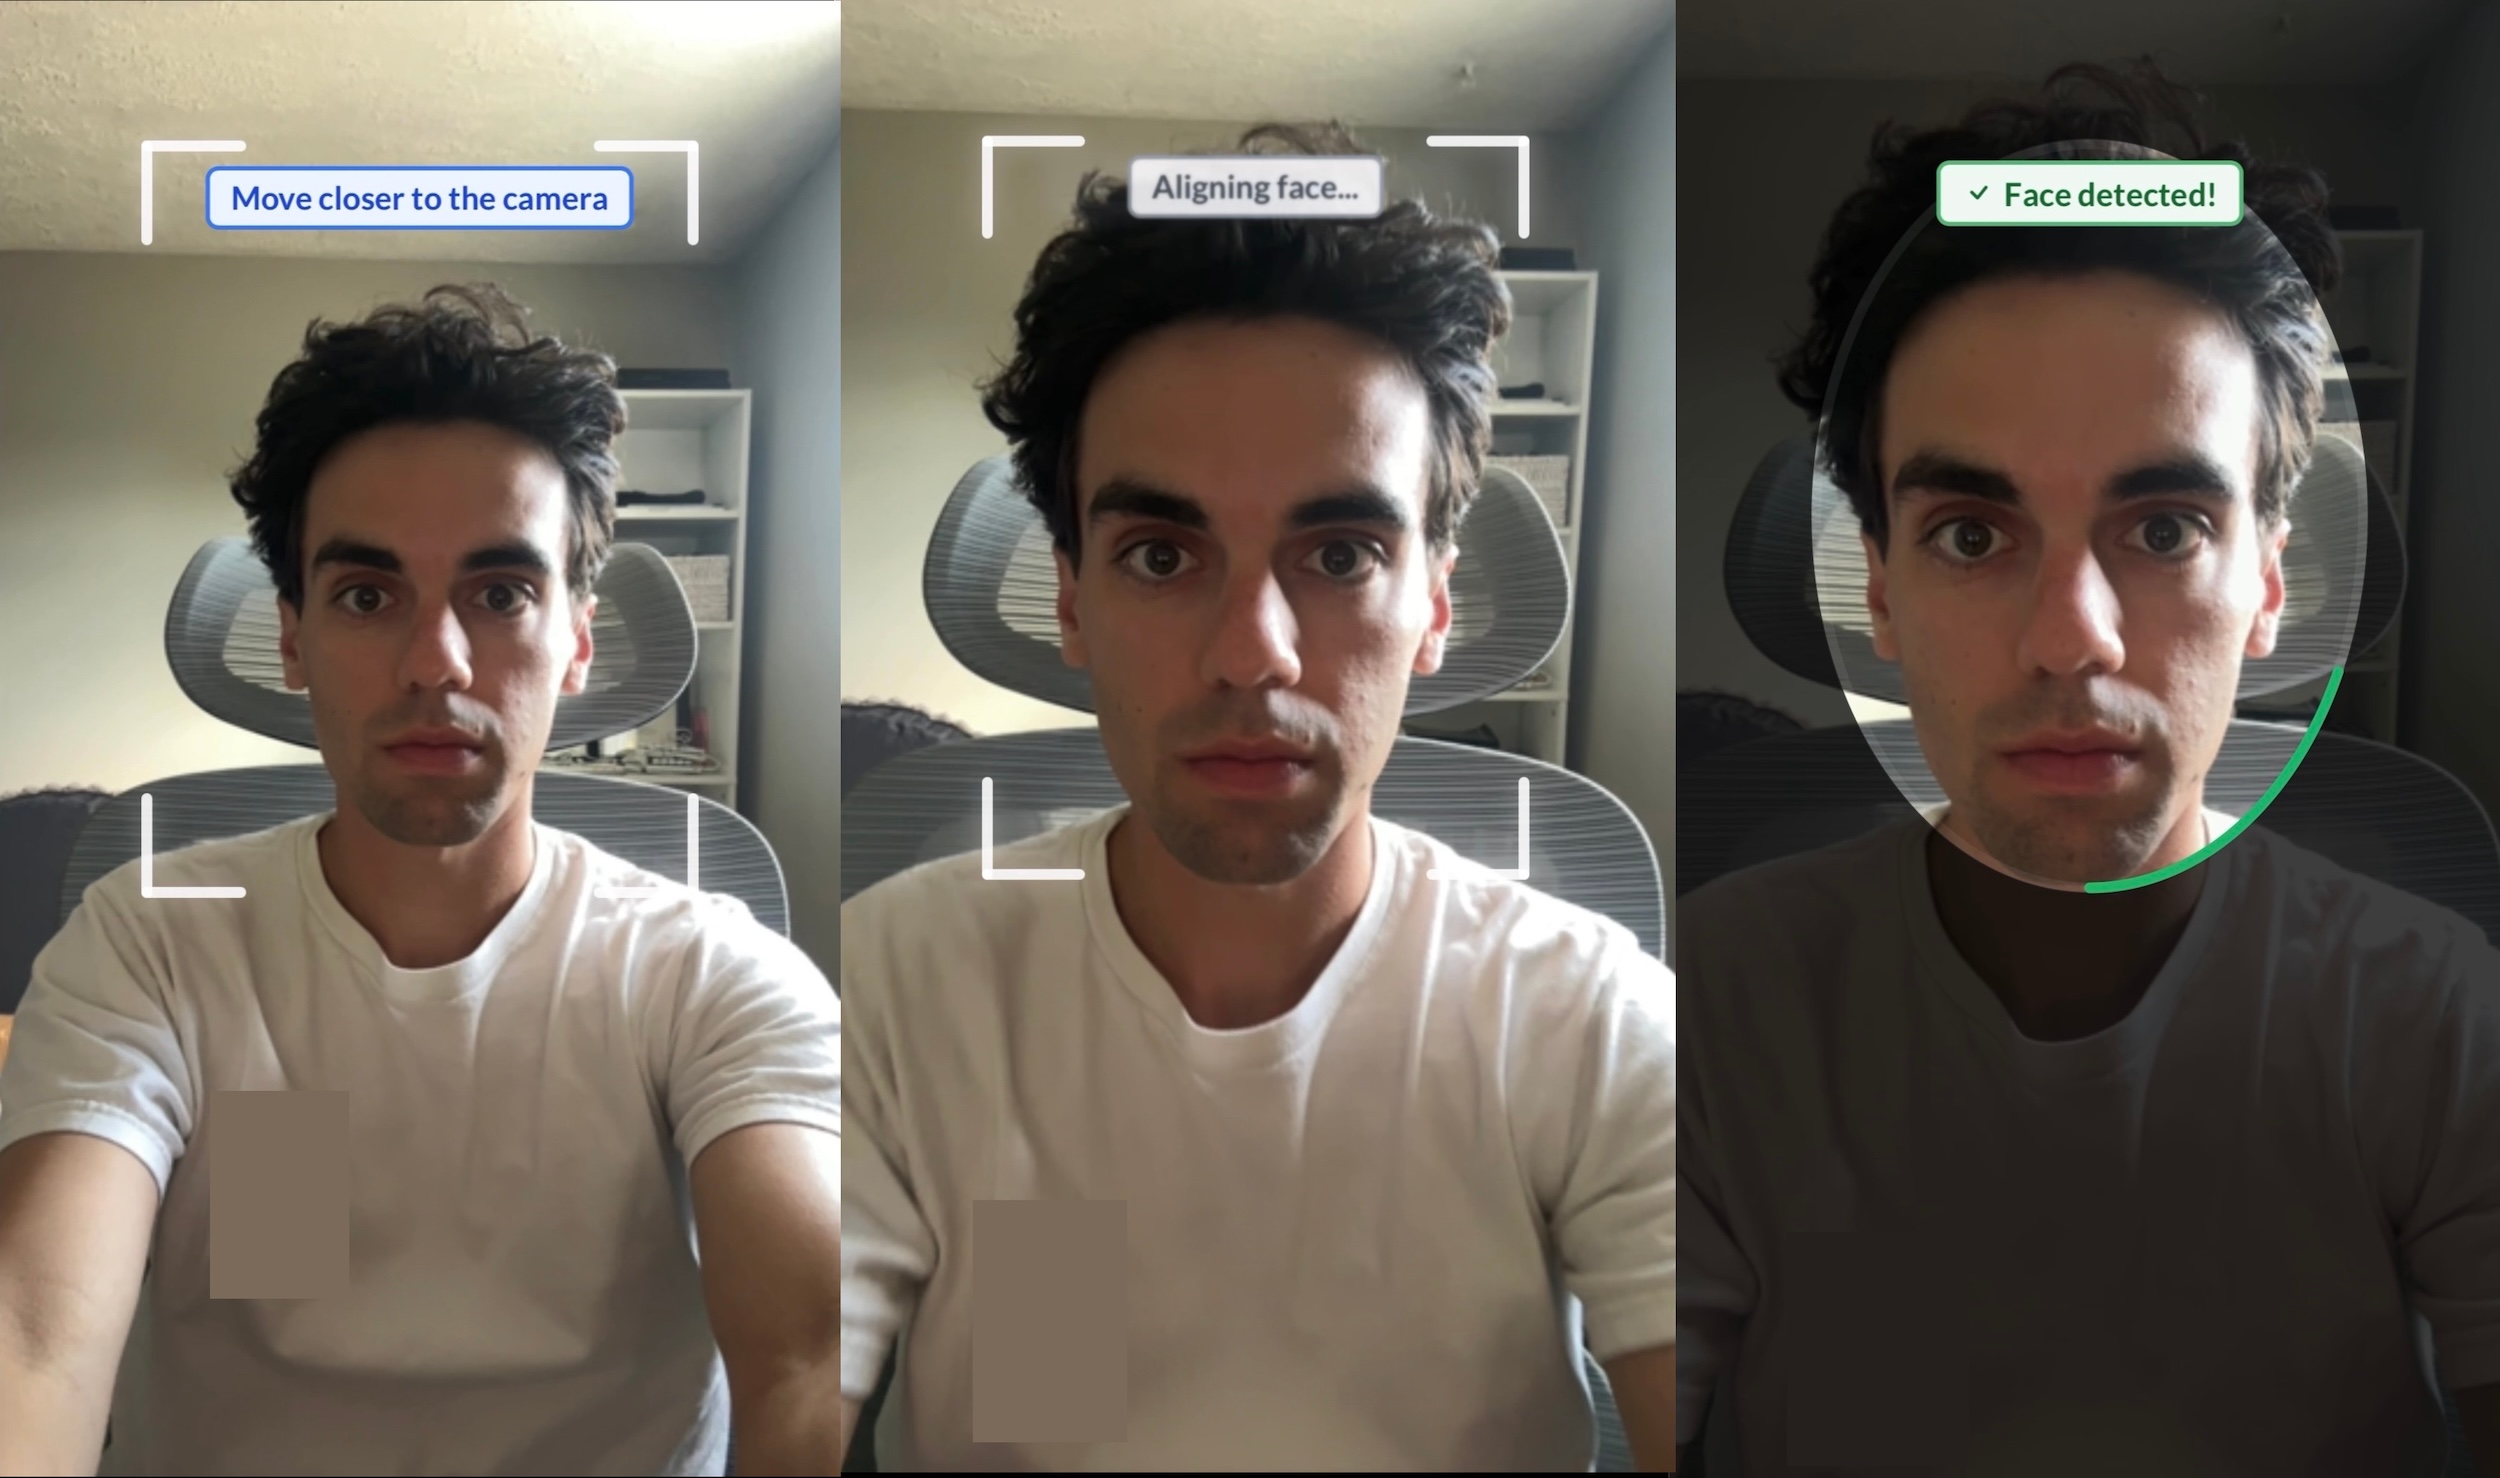
Various messages may be displayed to guide the user, such as "Move closer to the camera," "Aligning face...," and "Face detected!" Once the user sees "Face detected!", a green circle forms around their face to indicate that the image capture is complete.
-
A Loading page is displayed while selfie is submitting.
- The image is submitted.

Updated about 1 month ago